top of page


Tel: 1300 739 877
INSTALLATION
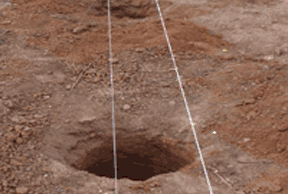
STEP 1
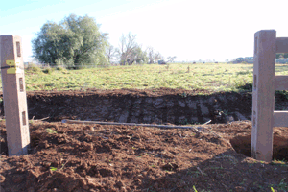
STEP 2
Accurately mark and bore 600 mm deep holes at 2.3 m centres. We recommend using 450 mm diameter holes. Set up string lines to guide both the height and line of the fence.
With the post in the ground ensure the post is at the correct height and positioned ready to accommodate the 2.3 metre long rail.
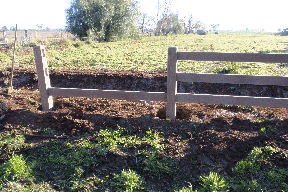
STEP 3
Pull back the post to allow the bottom rail to be fitted. With the bottom rail fitted push the post back so as the rail is just held.
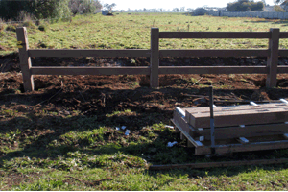
STEP 4
Repeat the process with the second rail again pushing up the post so as the second rail is just held.
STEP 5
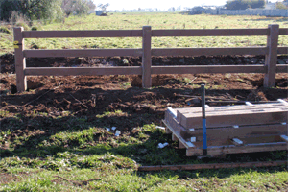
Fit the top rail and push the post back up to square. Compact the soil around the post or alternatively brace the post ready for concrete. Repeat the process for the next and all other sections along the length of the fence.
STEP 6
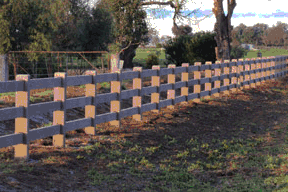
The decision to either concrete posts in place or compact soil around the posts will be determined by the fence's intended use, location and soil type.
We suggest all posts are concreted in place with a minimum 300 mm depth of concrete on top of 300 mm of compacted soil holding the post in place until it is concreted.
Fences are built one section at a time using the method described, 90 and 45 degree corners are installed in the same way.
COLOURS
AVAILABLE

WHITE

IRONBARK

REDGUM

ASH

WALNUT

AGED TIMBER
bottom of page
